- Coasters- plain white tiles or the stone ones pictured
- Mod Podge
- EnviroTex Lite- it comes in 4 oz or 16 oz. If you plan to make more than 10 coasters, get the bigger kit.
- Printed photos
- paintbrush
- mixing stick
- felt
- 2 plastic cups (for mixing the EnviroTex)
- Surface for drying (cardboard will do)
- Something to cover project to protect from dust
- paper trimmer (optional)
- corner rounder (optional)
- Embossing Heat Tool (optional)
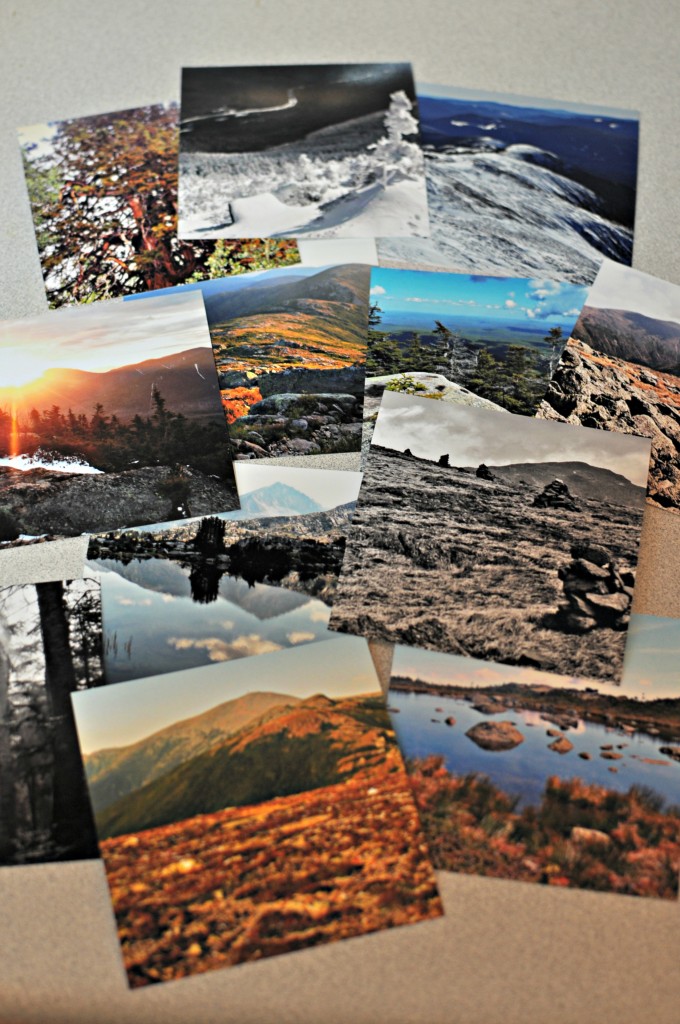
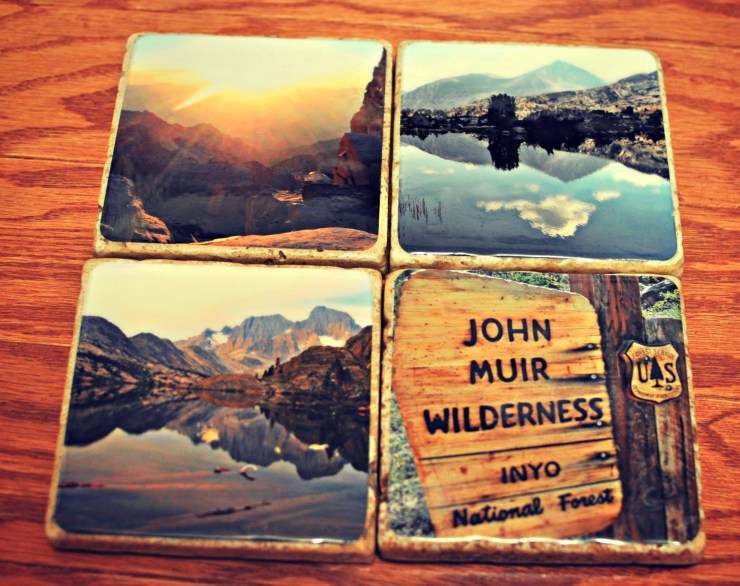
Pick out the photos you will be using. I decided to use four John Muir Trail photos to make a coaster set. I cut my photos using a paper trimmer to make them slightly smaller than my stone tiles. I also rounded the corners.
You will then brush a thin layer of Mod Podge onto the surface of the tiles and mount your photos.
Step 4:
Seal your coasters
Before you mix the EnviroTex Lite, place your coasters on something to raise them up slightly so the resin won’t get on the back. I used small container caps.
Follow the steps that come with the EnviroTex Lite. I recommend following them closely and setting a timer when necessary to ensure good results.
Tiny bubbles will come to the surface of the coasters. As instructed by EnviroTex, wait 15 minutes and then exhale over the surface to pop any bubbles. The carbon dioxide you exhale is what pops them. Using a tool such as an embossing heat tool works well if you have one. Do not use a hair dryer. The air is too strong and will simply move the resin off your coasters.
The resin will take a while to set- at least 48 hours. You may see similar projects that use Mod Podge over the photos. This will not be nearly as durable. Using a resin will ensure your coasters are waterproof and can handle being used daily. It also creates a glass-like finish and is much more beautiful.
Add felt to the bottom of your coasters to protect the surfaces in your home. Cut the felt in whatever shape you’d like. That’s it! Wrap them up for a friend or keep them for yourself! There are so many variations to experiment with. I am planning on making a winter set as well. You can also use only black and white photos or have a particular focus such as flora and fauna on the trail. Get creative!
Last modified: September 2, 2017

Love This!!